Les Paul Guitar
May 29th, 2022 by Lillian Tso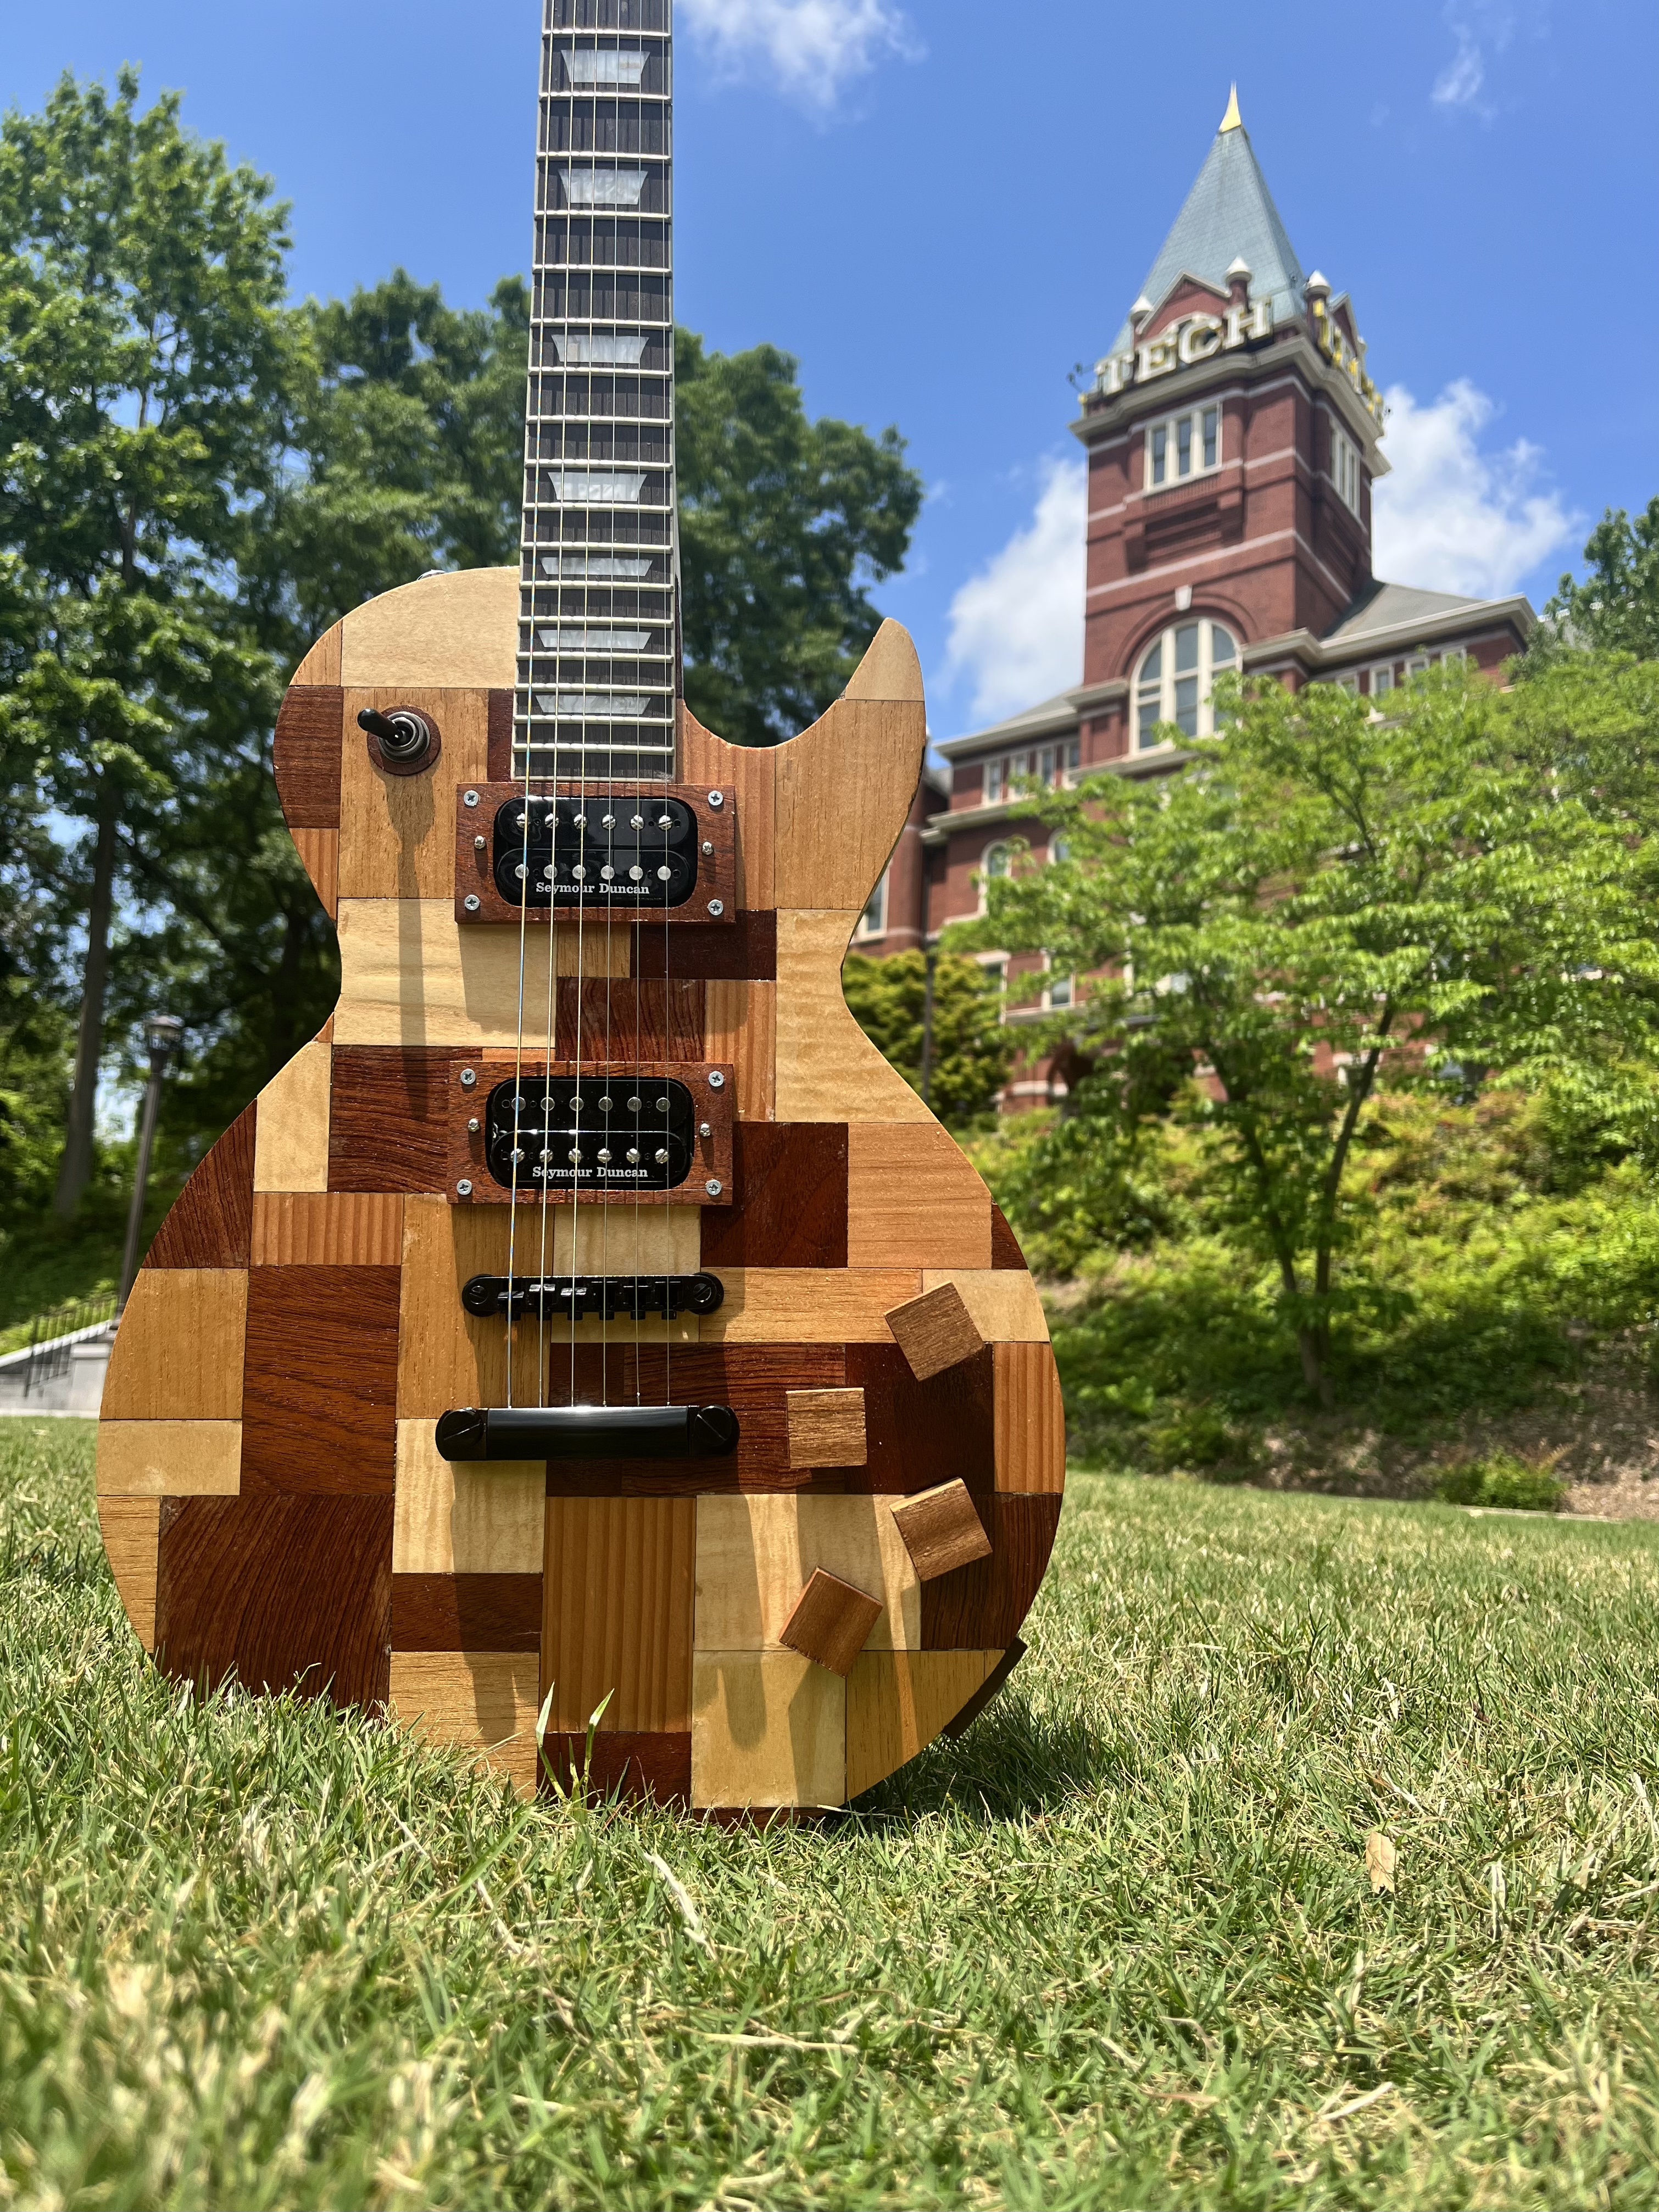
Project Reflection: Les Paul Style Guitar
This May, I finished building a Les Paul style guitar from scratch through the Invention Studio Makergrant program.
The Inspiration
I don’t know how to play the guitar.
However, in order to learn how to play the guitar, one must have a guitar on hand. I figure the best way, and the more “Lily” way, to acquire a guitar would be to build one from scratch. Since initial conception, I knew that I wanted my guitar body to be made from wood, so no acrylic or plastic, and for it to have a wooden pattern made from squares of wood. With that thought in mind, I started designing my guitar with the aesthetics always taking the lead in the design. With the help of Koji Shimada, the Invention Studio’s resident musician, I created the CAD and BOM of my guitar.
The overall design of the guitar is based around wooden squares and rectangles which cover the entire front of the guitar. In order for these squares and rectangles to fit together more precisely, a laser cutter was chosen to be the ideal manufacturing technique. However, the laser cutter’s downfall was that it cannot cut through 1.5” of material. Instead, I decided to veneer small sheets of wood, which I can laser cut into squares and rectangles, and use that to decorate my guitar. In addition, each guitar is composed of three layers: the top aesthetic layer, the middle layer to run wires between all the electronics, and the bottom layer which houses panels to access the electronics. Therefore, laser cutting three 0.5” MDF boards into my top, middle, and bottom layers was the best way to make my guitar. The middle layer can already have the channels built into it. MDF was chosen because it is inexpensive and is a very good base for veneering. Once the design was finalized on CAD, I purchased all my electronics and the neck of the guitar.

Manufacturing Steps
- Prepare the MDF body
- Chisel out a cavity for the neck
- Veneer all surfaces
- Create the humbucker rings, jack panel and knobs
- Sand and finish the body
- Attach the neck
- Solder all the electronics together
- Fasten all the pieces to the guitar

Reflection
The biggest skill that I learned throughout this process was getting more used to the advanced woodroom tools such as the table router, hand carving tools, and the spindle sander. I gained skills in veneering and found that portion of the project to be very exciting. Against my initial thoughts, I learned that smaller veneer pieces are easier to secure. The hardest piece was the large back veneer since I could not evenly pressurize the entire surface. This made bubbles form on that surface. The next time I veneer, I would focus on breaking apart large surfaces into smaller strips. Another challenge that I faced was the tool capability of the laser cutter. Since the laser cutter is only capable of cutting two-dimensional surfaces, it could not cut contours or any three-dimensional surfaces. This made the neck very hard to add to the guitar, and I had to fall back on hand carving that channel. A CNC would have been better to use in this process, but I would have had to hand drill out the electronics channels using long drill bits. However, the laser cutter and the three layer idea sped-up the guitar making process and decreased the difficulty of the project.
Overall, it was a very rewarding project to design and create. I now am the owner of my own custom made guitar that can actually be played! I learned a lot about design for manufacturing and how to simplify a design in order to reduce the time associated with manufacturing. I was able to compare different techniques (i.e. the CNC vs the laser cutter) and find out which one was the best for my application. Looking forward, the next step would be to learn how to play the guitar!

Acknowledgement
Funding for this project was provided by the Invention Studio at Georgia Tech student organization and the project was built in the Flowers Invention Studio space